Cookie
This website requires cookies to provide all of its features. For more information on what data is contained in the cookies, please see our Privacy Policy page. To accept cookies from this site, please click the Accept button below.

DISCLAIMER - This is a guide only and Tilesporcelain Ltd is not liable for the finished tiling project.

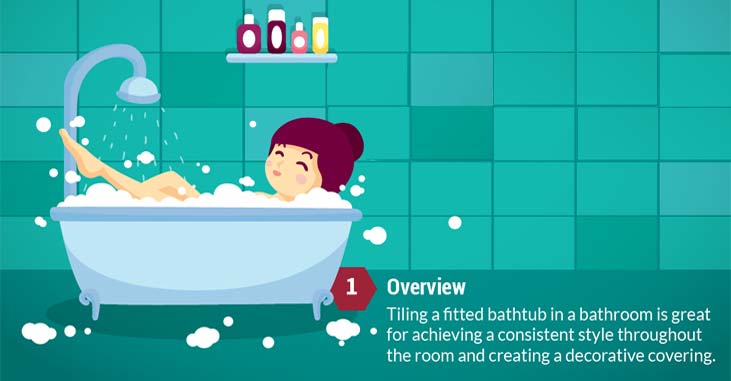
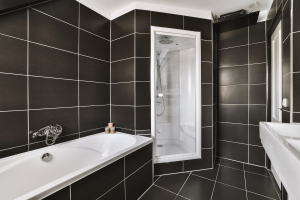
The vast majority of bathrooms use tiled walls to withstand the humidity and water splashes while being easy to keep clean. Where tiling is kept to a minimum; it usually forms a decorative splashback around fitted baths. Some decorative baths are free standing in which case the bathroom walls would be tiled directly and would not need to be covered by this article. Many bathrooms are constructed to a standard size so that a panelled bath fits along one wall, usually the “short” wall in a rectangular bathroom from side to side and is enclosed on 3 sides. Large bathrooms would fit a bath in one corner with walls on 2 sides and decorative panels fitted to the exposed side and end. The most important element when installing a bath tub is ensuring its natural flex when filled with water is kept to a minimum. This helps ensure a long-lasting seal between bath edge and wall.

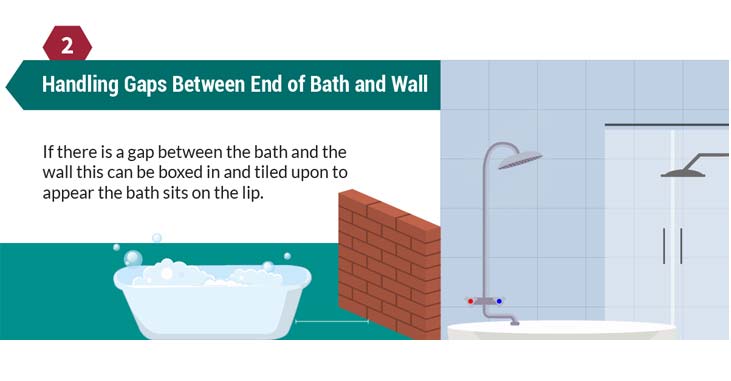
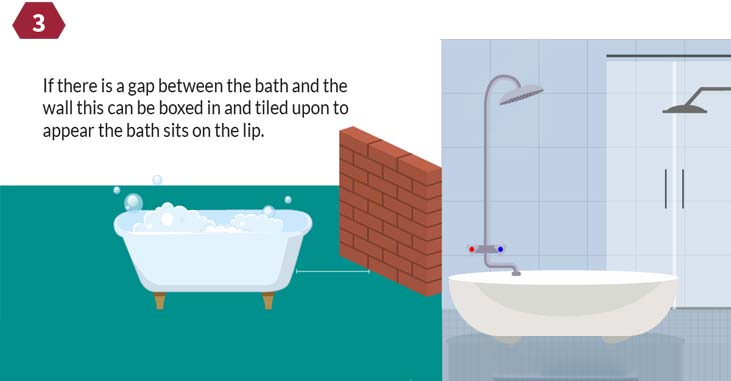
Larger rooms will probably have space at the end of the tub to allow a panel to be fitted, however, smaller bathrooms will have the bath fit wall to wall or present a slight gap that is often less than 300mm. This gap can be boxed in so that the bath appears to sit on a tiled lip

You will need to ensure the walls are clean and stable with no loose plaster. If you intend installing a shower over the bath tub then you may need to fit a protective, waterproof backing board or apply a suitable sealer to ensure the tiled finish remains water resistant for many years. With backing board in place or walls ready to receive tiles; it’s time to start the tiling process

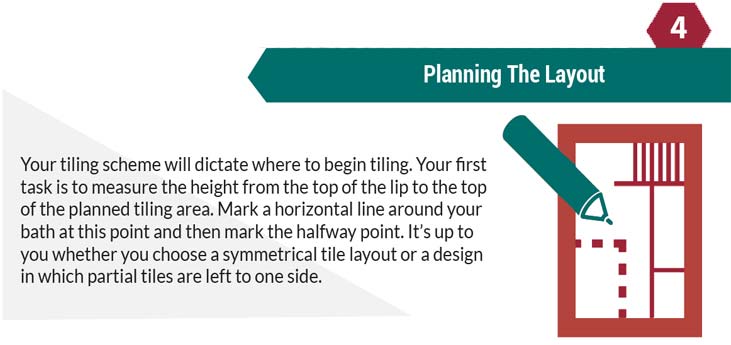
The tiling scheme will largely dictate where to start tiling and how the wall should be marked out for tiles.Start by measuring the height from the lip of your bath to the top of the planned tiled area. You may wish to alter this height, if possible, to minimise tile cutting. Mark a horizontal line around your bath at this height. Mark the half way point. Find out how many tiles will fit between the bath lip and mid point. Allow for the thickness of the grout. If you will need a small slip of tile then you may prefer to have a part tile near the bath lip or at the top of your tiled area. Adjust the vertical layout accordingly. Next, measure the width of the back wall, bisect the width and draw a vertical line down the wall behind the bath. Check a row of tiles to see how large a gap is left at the corner and decide whether to go for a symmetrical arrangement or leave partial tiles to one side. Make sure to measure the width in at least 3 different places (top middle and bottom) to check for width variation. If you have border tiles, tile edging strip or are fitting a row of mosaic tiles to add interest then make sure you mark their position. Once you know where your bottom row of whole tiles will be placed; mark a second horizontal line at this height and fix a batten to the wall along this line as a guide to prevent tiles slipping.

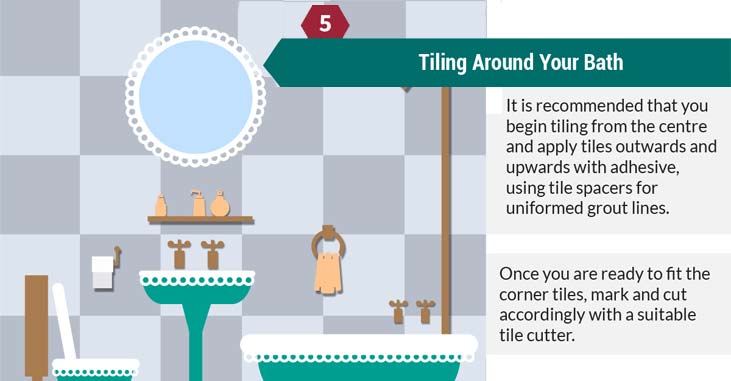
Bathroom walls are rarely vertical and square. Once you have the tile layout planned; start either from the centre (or adjusted centre when part tiles will be fitted to 1 side only) and work outwards. Apply a suitable wall tile adhesive to a maximum of 1 square metre and apply tiles outwards and upwards using tiles spacers to ensure a uniform grout line. Once you’re ready to fit the corner tiles, mark the tile and cut using a suitable tile cutter. By working from an accurate vertical and horizontal guide line; you’ll be able to make minor adjustments at the edges rather than starting at one wall and making corrections for a slightly out of square vertical. Make sure all the tiles are uniform; pressing down any raised corners or edges before the adhesive sets for a uniform finish

Before you fit the bottom row of tiles; it’s worth ensuring the gap round the bath is filled with silicone sealant. While the adhesive dries on your wall tiles; use a piping gun and silicone with the applicator nozzle cut to a suitable thickness to bridge the gap and ensure a good seal. You may find you get a better seal if you fill the bath with water first so that you can allow for any flexing. Once the main tiles are fixed; you can start cutting and fitting the edge/corner tiles. This will allow you to adjust the tiles if the gap is slightly uneven. Fit the tiles round the bath and seal the lower edge with silicone. If you are finishing the project with metal or plastic edging strip then apply the strip with adhesive before the last row of tiles then slide the strip down onto the tiles and press firmly in place

Use a grout suitable for damp areas to help prevent discolouration. Apply the grout with a suitable spreader working in all directions. Finish the grout by running a length of wooden dowel to create a rounded finish and wipe off the excess. Ceramic tiles can be buffed to remove excess grout.