Cookie
This website requires cookies to provide all of its features. For more information on what data is contained in the cookies, please see our Privacy Policy page. To accept cookies from this site, please click the Accept button below.
DISCLAIMER - This is a guide only and Tilesporcelain Ltd is not liable for the finished tiling project.

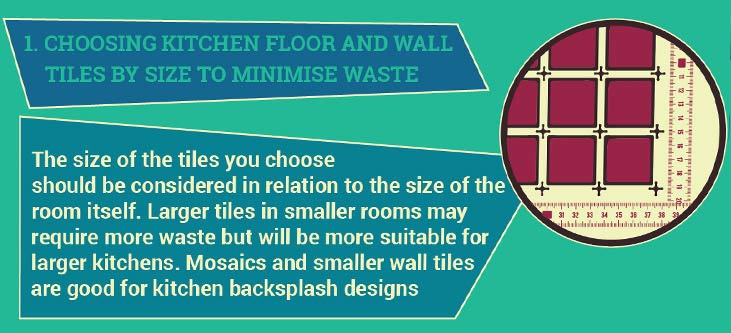
In order to cover a kitchen floor or walls with tiles arranged into an aesthetically pleasing pattern; a certain amount of symmetry will be required. Tiles will rarely fit the dimensions of your kitchen perfectly so a certain amount of waste can be expected. Large tiles will cover the area with fewer tiles but you may need to waste more tiles as the overlap is removed. Only a few mosaic tiles may need to be cut as overlap will be minimal. An alternative arrangement may be to create a central arrangement of larger tiles with small mosaic tiles acting as a border. Kitchen floor tiles and wall tiles are normally calculated by area for your main tiles and by linear metre for border tiles; after all border tiles run along the edge or help provide a linear pattern. Calculating Floor Area or the area of the wall involves breaking down the space into a number of areas that can be accurately calculated. Draw an accurate floor plan showing the dimensions of your kitchen floor and try to precisely mark out kitchen units and obstructions that won’t require tiling. You can then divide the remaining floor area into a series of rectangles and calculate the overall area by adding together the area of each rectangle calculated from its length and breadth. Imagine looking down on your kitchen as a sort of shoebox. Now imagine removing the bottom of the box and cutting down one edge so that the sides can be folded out into a flat strip. Create this sort of diagram for your kitchen walls, labelling each wall in turn. Mark out the areas to be tiled on each wall as a series of rectangles and use these to calculate the overall area. By marking your border positions you can also calculate the overall length of border tiles you require. A general rule of thumb is to allow 10 to 15% for waste (the area of tiles that need to be cut away to fit the dimensions of the area to be tiled) you may also need to allow extra for breakage. Grout and adhesive are usually sold by weight or volume and each material will indicate the approximate coverage per square metre or area covered per pack depending on manufacturer and type of tiles to be fitted. With the information calculated above it’s easy to work out your requirements

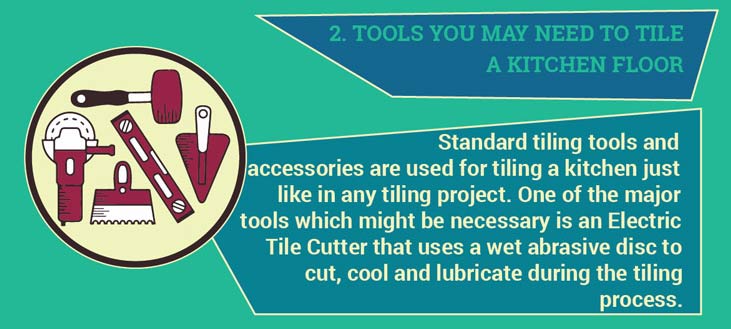
You may already have a number of these items to hand or have helpful friends and relatives that can loan you some of the items you may only use once. Probably one of the best investments for tiling is an electric tile cutter that uses a wet abrasive disc to cut, cool and lubricate during the cutting process. There will be fewer wasted tiles due to breakage and it will be possible to cut complicated shapes easier.

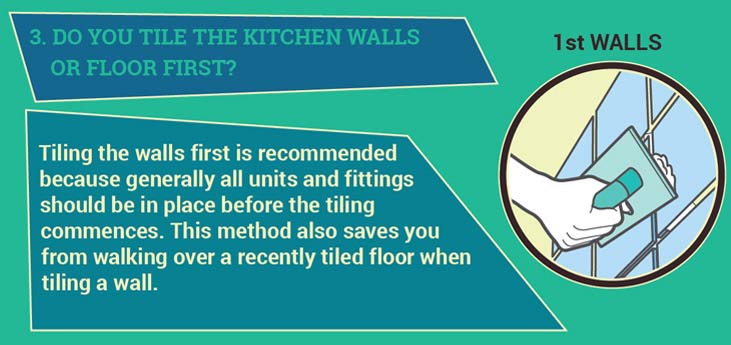
Wherever possible the kitchen units should be fitted and levelled first. Sometimes it may not be possible to tile the floor before unit side panels and plinths are installed, for instance with a bespoke hand-made kitchen built in situ. Once the units are in place and worktops fitted; you should tile the walls and finally the floor. This reduces the risk of damage from falling tiles or heavy objects during the installation process. Planning where to start depends upon the visually most important wall or area and whether you are tiling part of the wall or the complete wall. If you are tiling the whole room then tiles will need to be aligned right round the room first and you will need to mark out a horizontal guide. Preparation involves clearing away any dust or friable surface material to ensure a good grip. Some walls may also need priming to reduce suction drying out the adhesive before it cures properly

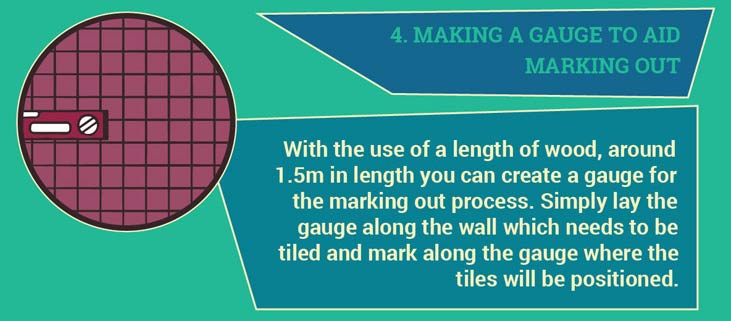
A length of wood about 1.5m can be accurately marked out to use as a tile gauge: Assuming you choose rectangular kitchen wall tiles; lay out a column of tiles on the floor with tile spacers in between. Lay the wood alongside and mark out the position of the tiles. Repeat the process for a row of tiles using the opposite side of the wood to create a double gauge.

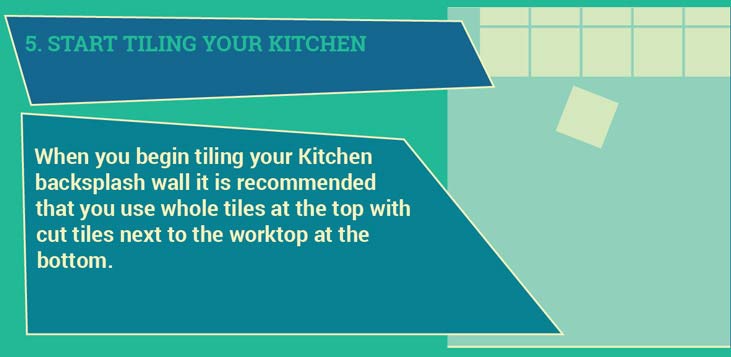
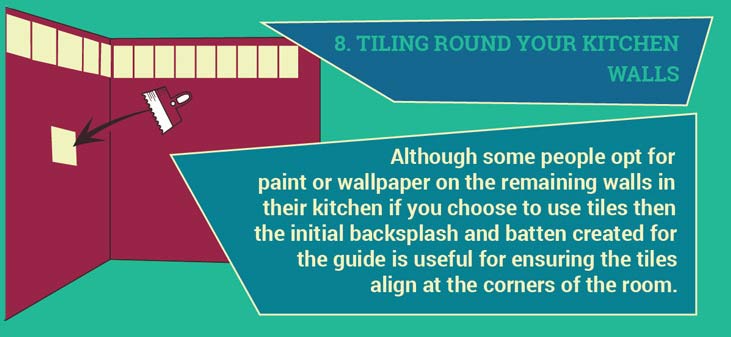
If you are going to use a part tile wall as a splash-back above your kitchen worktops then it makes sense to use complete tiles or ensure that the top row is made of complete tiles and the partial tiles are used just above the worktop. Window sills, doorways and external edges will need to be checked in advance as narrow filler strips at an edge may be difficult to affix and could be prone to cracking Once you have decided on the final level make sure to start at the level of the lowest complete tile then attach a horizontal batten as a baseline. Make sure the batten is not warped as this will impact all subsequent tiling operations. The baseline should match up on all walls to be tiled.

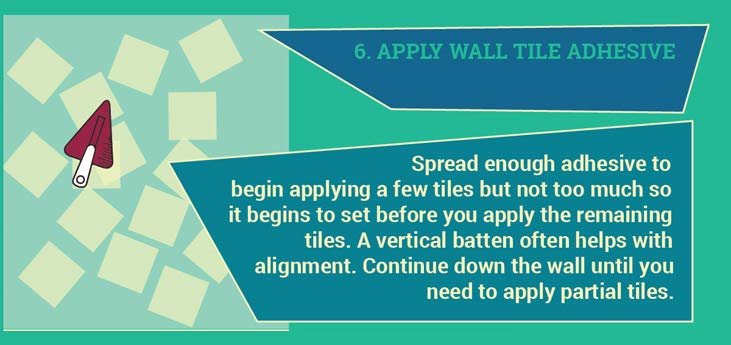
Apply an even thickness of adhesive with a suitable toothed spreader and cover a manageable area between half and one square metre depending on the size of the tile. Attach the first tile using adhesive. A Vertical batten may help as an edge guide to assist with tile alignment. Working along the row attach each tile in turn using tile spacers for a consistent grout line and ensure all the tiles are firmly pressed flat and are also flat and level relative to one another Fix a second row above the first using spacers and ensure they stay aligned with the first row.


Prepare partial tiles to fit gaps. If possible, prepare these in advance with the assistance of the tile gauge so that any delay between applying adhesive and fitting tiles is kept to a minimum.

Once the first area of tiles has been completed; continue tiling around the kitchen using the baseline as a guide. After the tile adhesive has cured; the baseline batten can be removed and partial tiles cut to fit the bottom gap

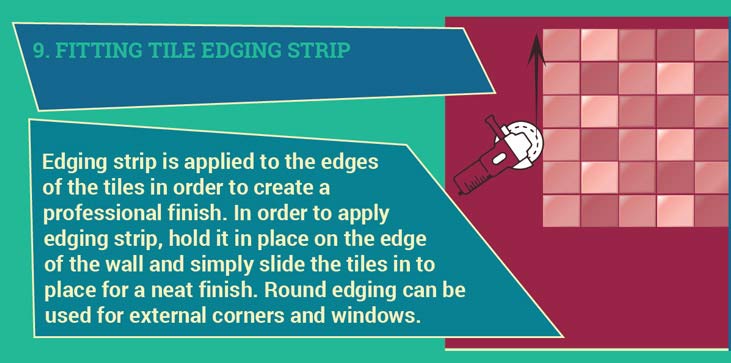
Tile manufacturers used to create special edging and corner tiles but now wall tiles are usually edged with a plastic or metal beading trim. Internal and external corners need to mitred to create a professional finish. Apply the edging strip to the wall, holding it in place with the tile adhesive to ensure it’s in place. Fit the last row of tiles with the edging a few millimetres above its finished positon then slide into place and make sure the tiles fit correctly. Leave until the adhesive is dry before grouting The rounded edging can also be used for external corners such as window surrounds and tiling around columns to create a decorative edge finish.

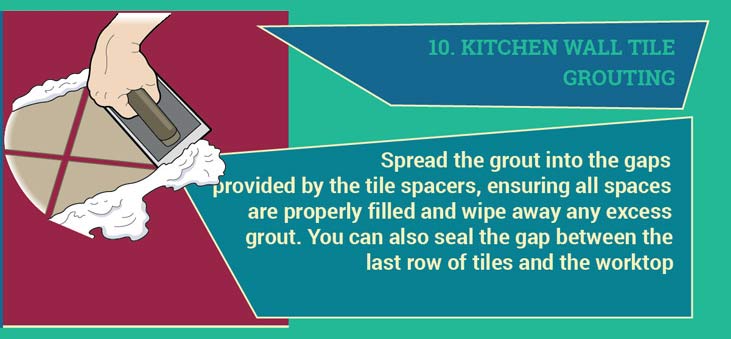
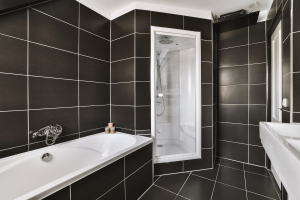
Spread the grout into the gaps between tiles; working it in every direction to ensure the gap is properly filled. A soft rod such as a dowel can be used to create a uniform finish. Excess grout should be wiped away and then tiles left. Ceramic tiles can be buffed with a soft cloth to remove any remaining grout dust. Porous tiles and natural stone may need to be prepared first to avoid potential staining and cleaning problems after grouting. In order to maintain hygiene and assist cleaning; you should aim for a good seal between the kitchen worktops and wall tiles. Worktops can move or flex very slightly meaning that standard grout will eventually crumble or form a gap. You can use a good quality silicone sealant that can last 10 years or more. Ensure the bottom edge of tiles and the edge of the worktop are clean and free from dust or foreign particles. Fit a fresh tube of silicone into a piping gun and cut the nozzle to comfortably fit the gap. Apply the silicone in a single, smooth operation for the best result. Unlike ceramic or porcelain tiles which are often finished with an impervious glaze; natural stone can and is naturally porous. Unless precautions are taken, it is possible for tiles to get stained by adhesive and grout that can be difficult to remove. Unless tiles arrive pre-treated; it’s worth making sure that the stone surface is sealed in advanced or handled carefully and sealed prior to grouting. Natural variation of stone from tile to tile adds character but can mean that some tiles just don’t look right beside others. Try to layout stone tiles in advance to ensure you’re happy with the way the tiles go together. Stone tile edges are often finished differently to ceramic tiles and may look better with a mechanically ground and polished chamfer

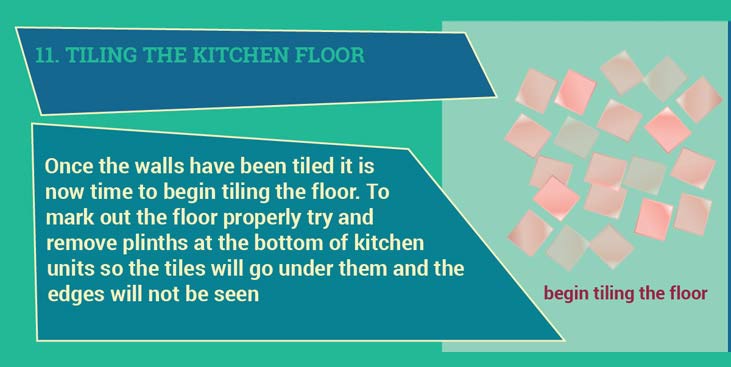
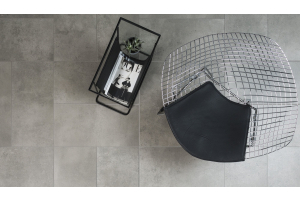
This partly depends upon whether you are tiling before your kitchen units are fitted or perhaps you already have a fitted kitchen and need to tile round your existing kitchen units. If you are able to remove the plinth and any end panels then you may be able to tile below the edge of your units for a better finish; If not, your kitchen floor tiles will need to be fitted to the unit edge. The human eye seems to seek symmetry and will pick up on asymmetric tile arrangements quite quickly. Floors are easy to test lay tiles onto so it is worth spending some time trying different tile arrangements before finalising the layout for your tiled floor.

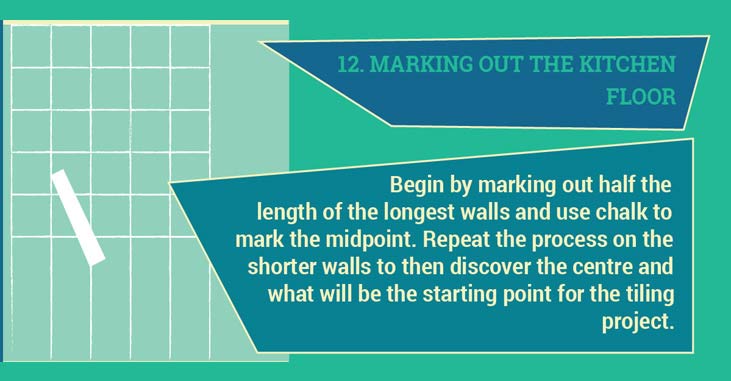
Measure half the length of the longest walls and use the chalk line to mark out a line to represent the midpoint. Repeat the process for the shorter wall and chalk a line that bisects the first at 90 degress. This is the measured centre and will provide a starting point for testing various tile positions. Check tiles in doorways are central where possible and maximise the size of any part tiles to reduce the risk of breakage. It may not be possible to create a perfectly symmetrical arrangement so be prepared to compromise and ensure the most important viewpoints look correct. If your kitchen has a natural focal point then this may be the most important view to get right. Any internal kitchen doors that open inwards should be removed if they won’t clear the new floor level. Any external inward opening kitchen doors should be adjusted before tiling begins to clear the new surface

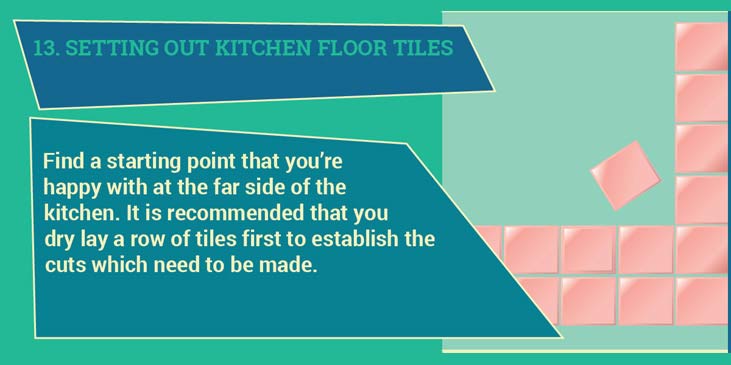
Once you’re happy with the layout; find a position at the far side of the kitchen and set out your chosen starting point; making sure to start with a whole tile and fitting a batten to ensure this tile doesn’t move as you start laying tiles. You don’t want to walk over the tiles once fitted; until the adhesive is properly cured; so make sure there are no blocked access points and nothing you will need from the far side of the kitchen.

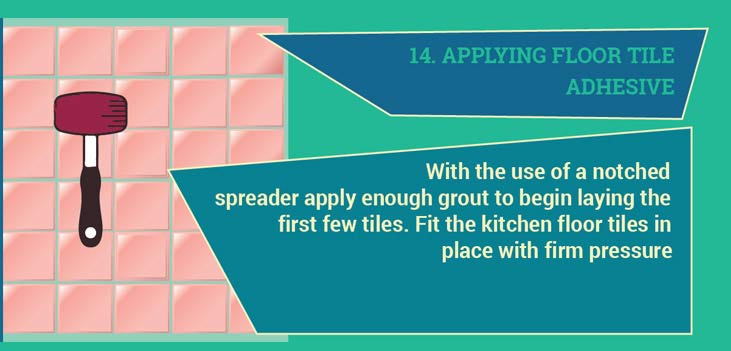
Using a suitable notched spreader apply about a metre squared of adhesive and work outwards from your first tiles. Keep a rubber mallet to hand and a block of wood. Fit the kitchen floor tiles in place and adjust any tiles that seem tilted or sit higher than others. Use the wooden block and a light tap with the rubber mallet to adjust levels for a flat finish. When you’re ready to fit the edge tiles; invert the edge tile and slide it up to the room edge in its intended position and mark where it overlaps the tile below. Providing both sides are equal and would result in a square cut across the tile; mark the position and cut using an electric tile cutter. Sometimes walls just aren’t square and you will need to accurately measure the gap either side of the tile and make a sloping cut. Complex shapes should be transferred to a tile then cut using a circular abrasive tile saw where abrasive cutting material has been fitted to a wire, forming a round file. You can recreate the shape of the part tile you need using stout card as a template to ensure a good fit and minimise wasted tiles due to errors

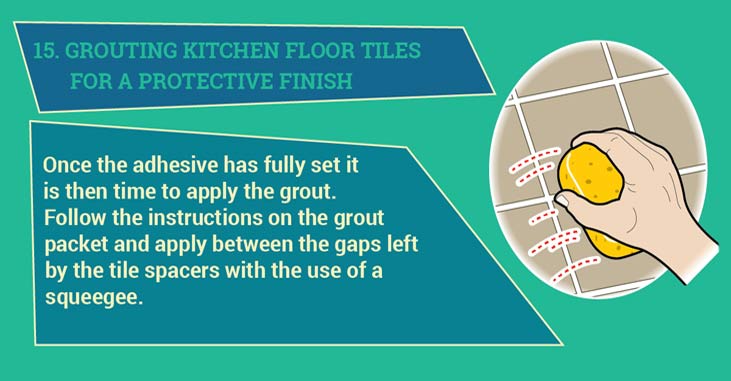
Once the floor tile adhesive has set (minimum 24 hours) prepare your floor tile grout according to the manufactures instructions or use a suitable ready mixed grout. Apply the grout using a squeegee from all direction; making sure to fully seal the tile edges with grout. A damp sponge will help you remove any excess grout from the tile surface. Natural stone floor tiles may need prior sealing to prevent grout marks.