Cookie
This website requires cookies to provide all of its features. For more information on what data is contained in the cookies, please see our Privacy Policy page. To accept cookies from this site, please click the Accept button below.
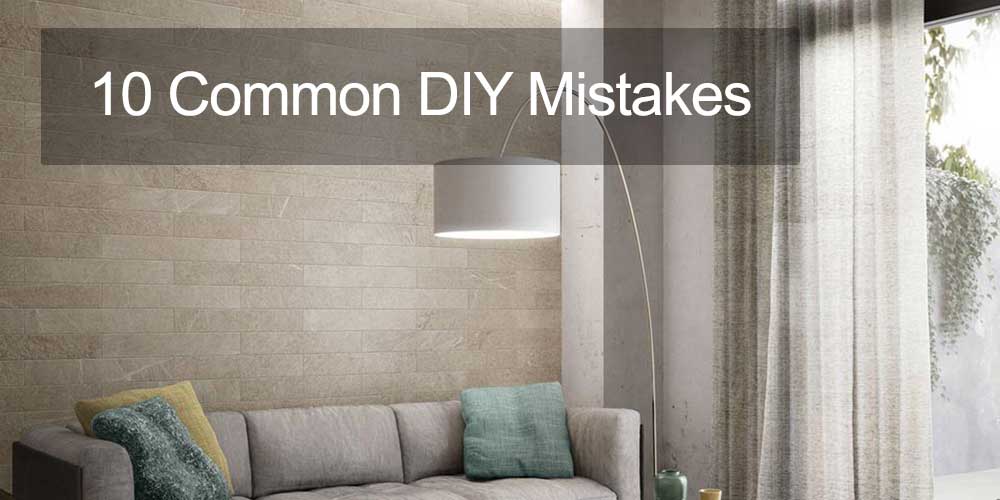
If you are thinking of re-vamping your home, now is the perfect time. Many of us like to participate in a little DIY for a number of different reasons. Some do it to save money; others do it in order to feel a sense of achievement. Many will embark in the project head on without taking the time to learn how to avoid the all too common DIY mistakes. So, if you are planning on decorating your home any time soon, read the following to help you achieve a professional looking finish in your home.
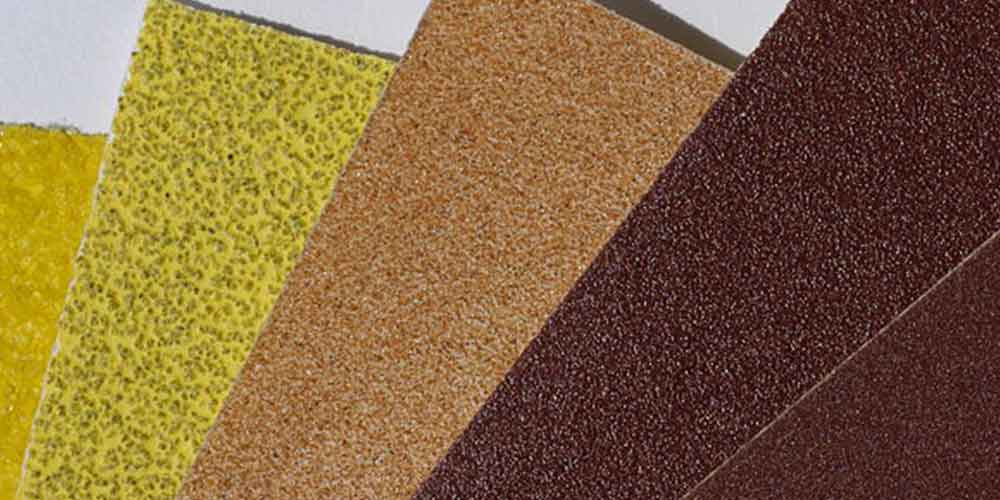
Make sure you take the time to prepare all of your surfaces prior to starting any work. Taking the time beforehand to thoroughly sand down any surfaces will ensure a professional looking finish. It can be very tempting to jump straight in with painting; however this will only result in a messy, half-finished job. If you prepare properly first time, you will save yourself time and money in the long run; however boring sanding down walls is.
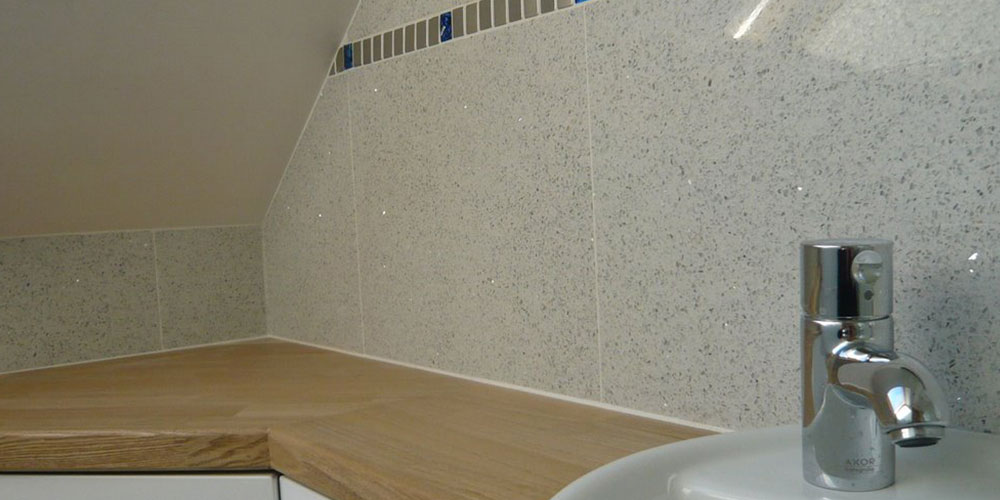
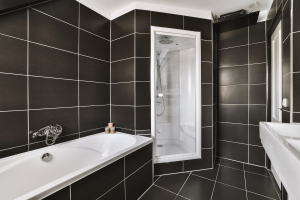
Think about the practicality of your projects in the long run. Do not leave something completely inaccessible just because you do not require access to it at that time. Think in the long run; for example, if you are redecorating your bathroom, consider the face that at one time it is likely that you will need to access the pipes in the event of a leak, so ensure that you install a removable panel. Not planning ahead could result in having to re-do perfectly good work a few years down the line.
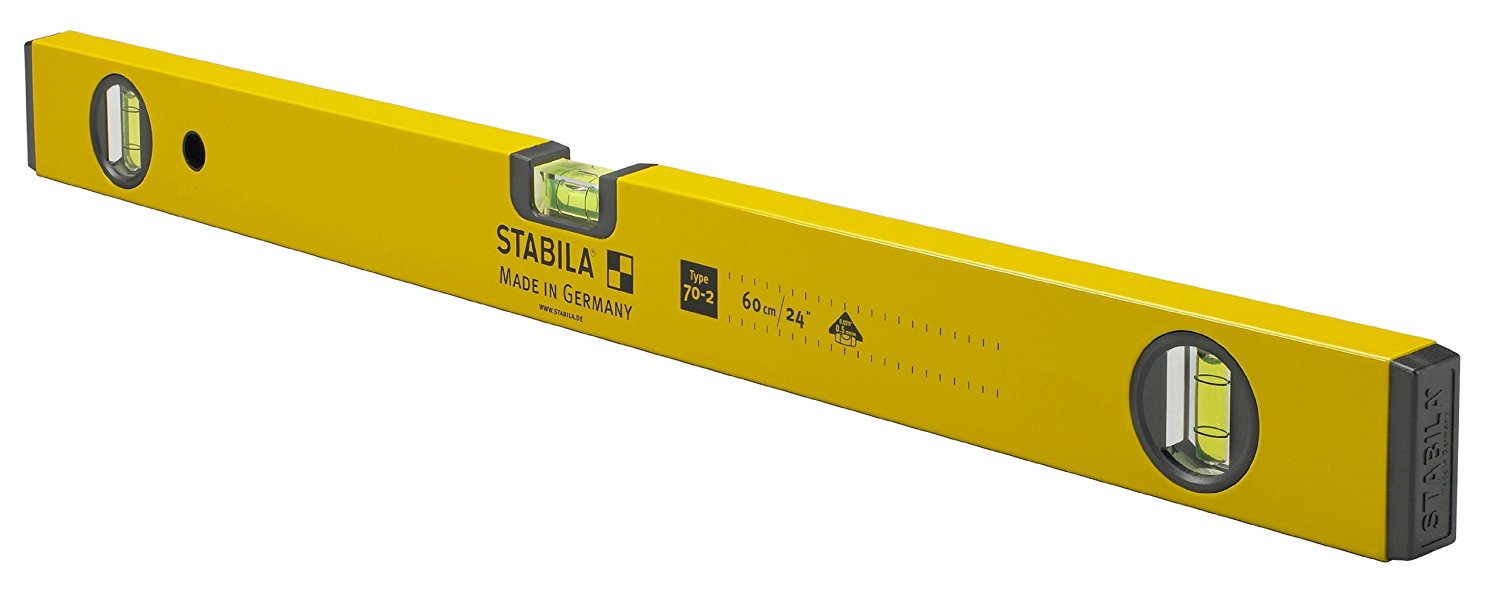
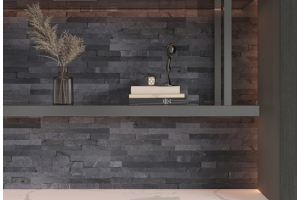
When you are carrying out any DIY projects, spirit levels will become your best friend. Never leave things to chance when you are putting up shelves or picture frames, as it will result in an unprofessional looking finish. Putting up a shelf is a five minute job, but it is essential not to attempt to save time by cutting out the spirit levels. This will only cause problems later when all of your belongings begin to mysteriously slide off the shelf.
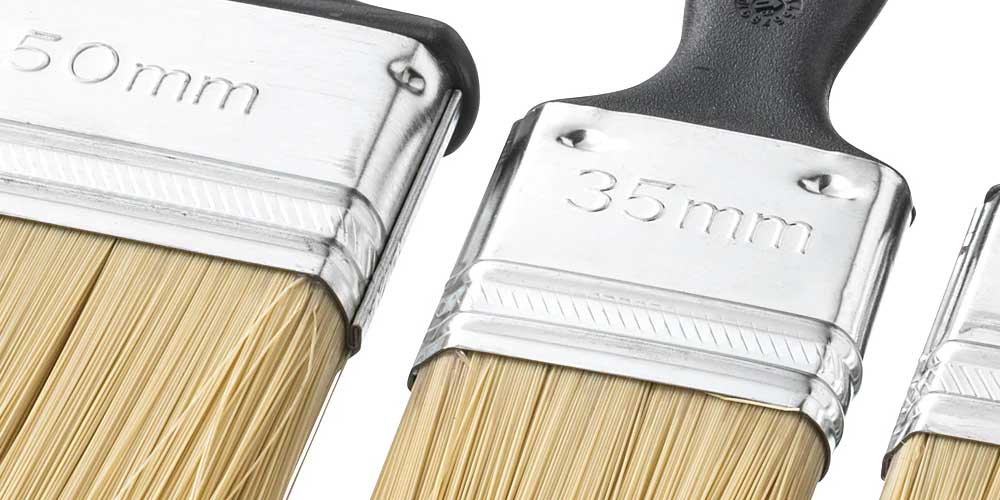
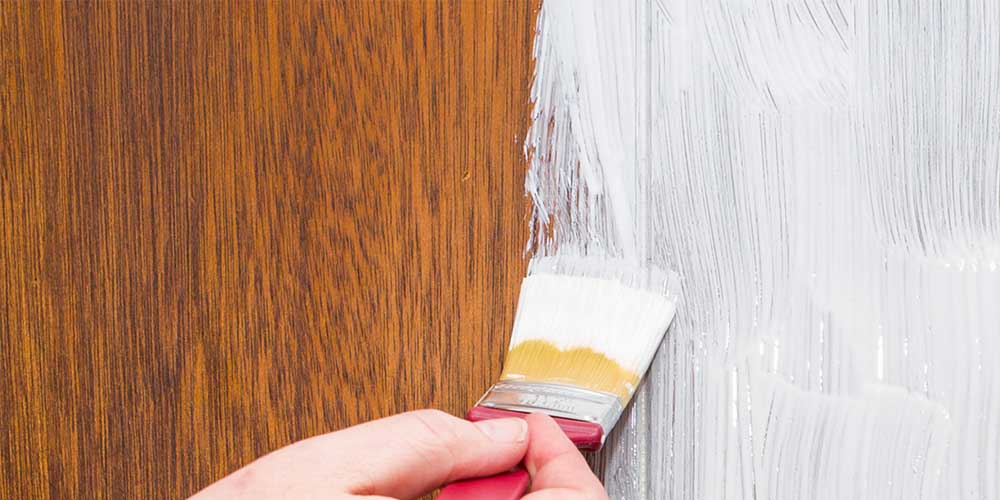
Whilst we understand and appreciate that not everyone will have a massive budget when it comes to DIY and re-decorating, but there are certain items that you really should scrimp and save on, and paintbrushes are one of them. Cheaper brushes will have fewer bristles than more expensive ones, which will leave an untidy finish; not to mention the fact that they will moult more. This will mean that you will spend half of your time picking stray bristles off of your freshly painted wall.
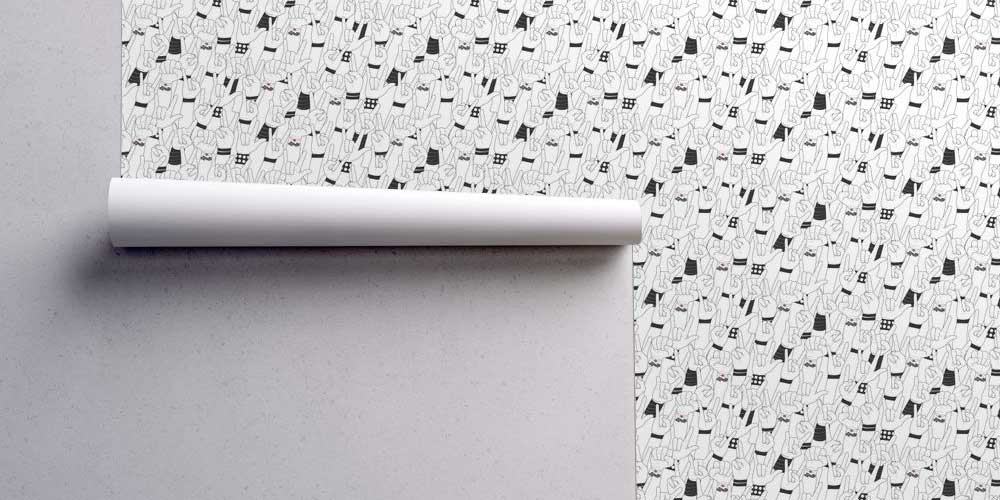
If you are thinking of using patterned wallpaper, there are certain points that you need to think of prior to purchasing your rolls. If the pattern repeat is more than 55cm, you will need to buy extra rolls in order to match the pattern up, as there will be more waste than a smaller pattern. Ensure that the rolls you buy are exactly the same, and do not differ in shades at all. Also, bear in mind that you will unlikely to return any opened rolls of wallpaper, even if they are unused.
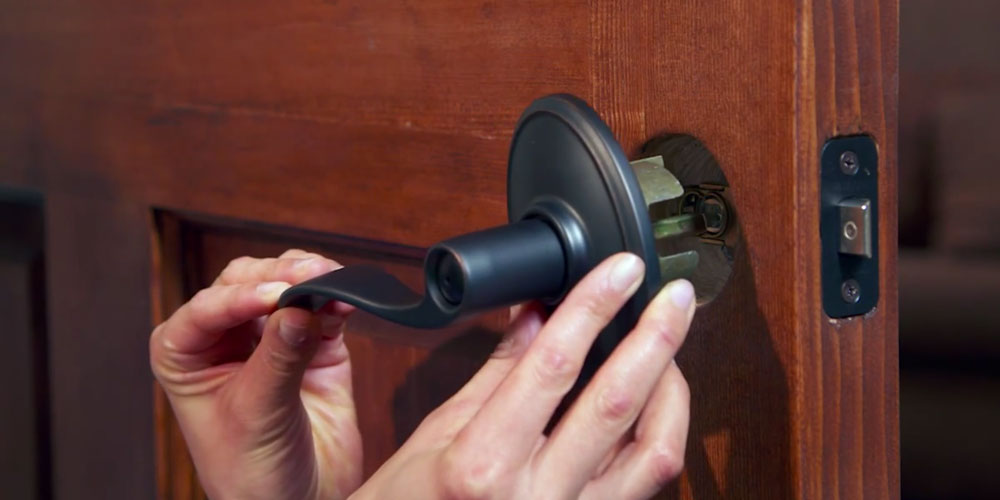
One really common mistake that people will make when decorating or carrying out any DIY projects in your home is getting paint all over your light switches, plug sockets and door handles. This will make the finished look sloppy, rushed and very messy. Before painting, loosen any door handles, and electrical switches, and cover the edges in masking tape. This really will not take very long to do, but will make a big difference to the finished room.
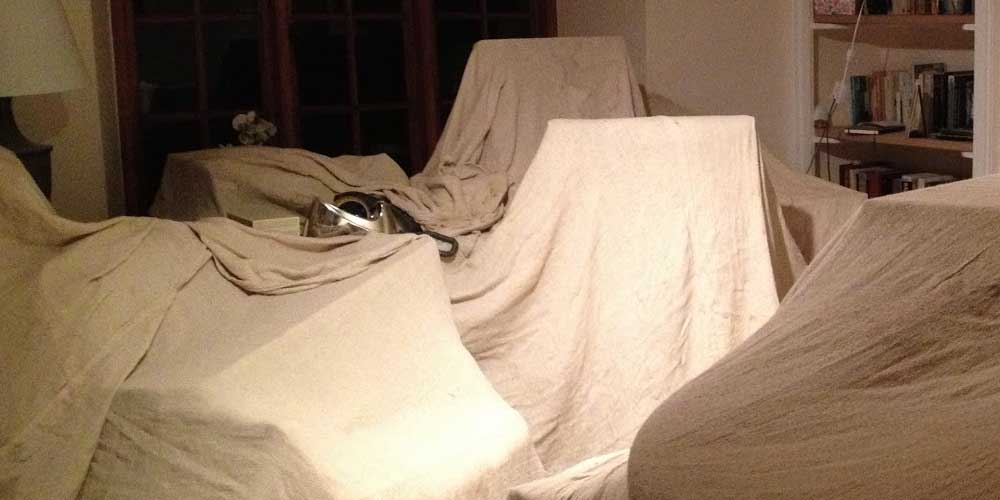
It’s happened to all of us at some point; but there is nothing more frustrating than finishing a really tricky part of painting, such as the skirting board, before looking at your floor and seeing your tiles, or carpet covered in gloss. Make sure, that before you start any sort of painting, you have covered all visible surfaces. You can do this with old material that you do not mind getting covered in paint, specific decorating sheets, or with masking tape.
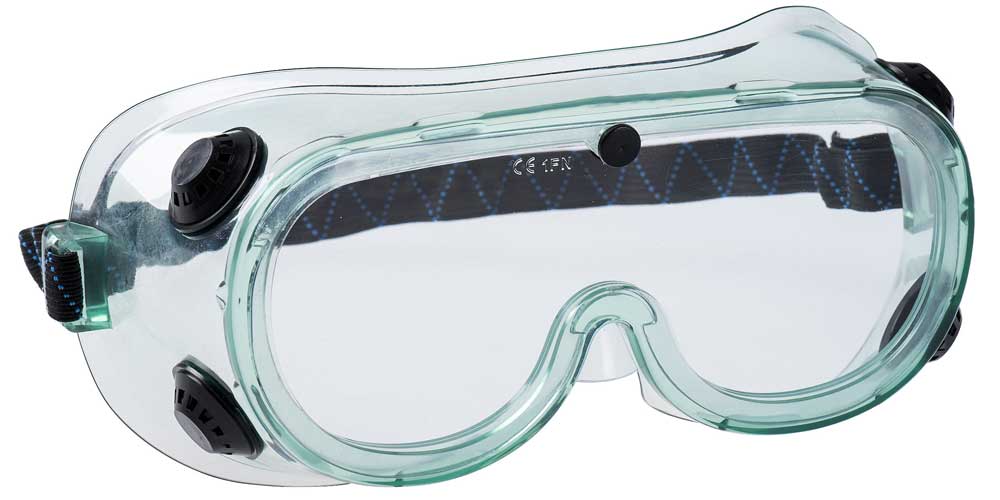
Safety has to be at the forefront of your mind whenever you are undertaking any DIY project. If you know that you are going to be working with power tools ensure that you relevant safety wear such as safety goggles. Avoid wearing baggy clothing as well when using any sort of electrical tool, or anything that can easily be caught up and cause an injury. Nothing will delay your project like a trip to A and E!
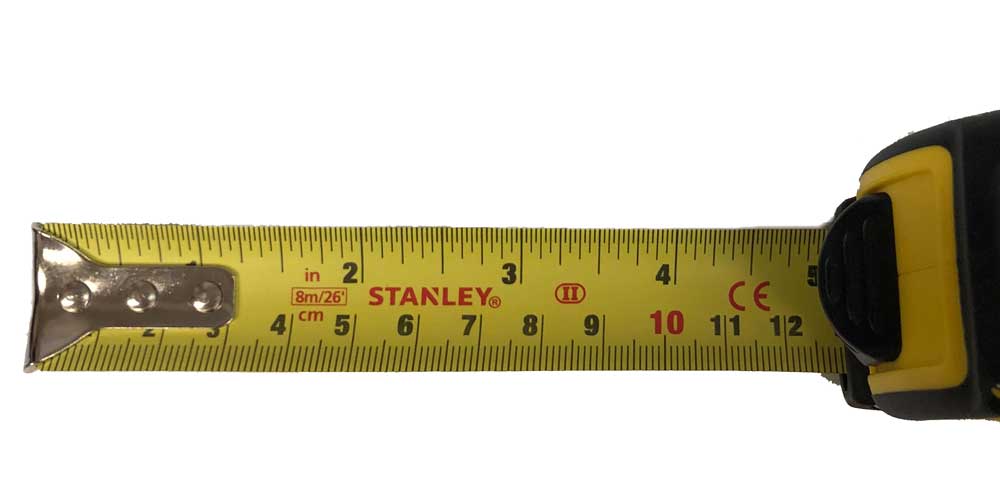
This is a commonly used phrase when offering advice for amateur DIYers. If you are making something that requires a lot of measurements, make sure that you are one hundred percent certain of these measurements before you cut it. It is very easy to take more off should you need to, but much harder to add more on should you cut it too small. This will result in an ill-fitting unprofessional finish. So, be sure to measure twice before you make any cuttings.
If you are painting over a heavily stained or watermarked wall, make sure that you use an oil-based primer paint prior to painting your preferred colour on. This will help to cover the stain, and prepare it for your chosen paint. If you chose to skip this step, the likelihood is that the stain will continue to show through, regardless of how many coats you apply. Adding a primer will give you a smooth, airbrushed finish, which will last.